Slideshow: Making Pizza from Spent Beer Grains
❮


1 / 58
Making Pizza from Spent Beer Grains.
2 / 58
I made a pizza dough that used some spent grains from our home-brewed imperial stout beer.
3 / 58
It was probably the ugliest pizza crust ever made, but the taste and texture turned out surprisingly well.
4 / 58
This might have been the best pizza that I've created.
5 / 58
The addition of the spent grains imparted a mild, earthy flavor, and the spent grains created a thicker and chewier crust.
6 / 58
The grains colored the crust a dark grey, which was somewhat expected, based upon the stout beer, made from the grains.
7 / 58
On brew day, I placed some of the spent grains in two, thick, air-tight, plastic containers, and I placed the containers in the freezer.
8 / 58
A few weeks later, I pulled one of the containers from the freezer and dried the grains, which took about three days.
9 / 58
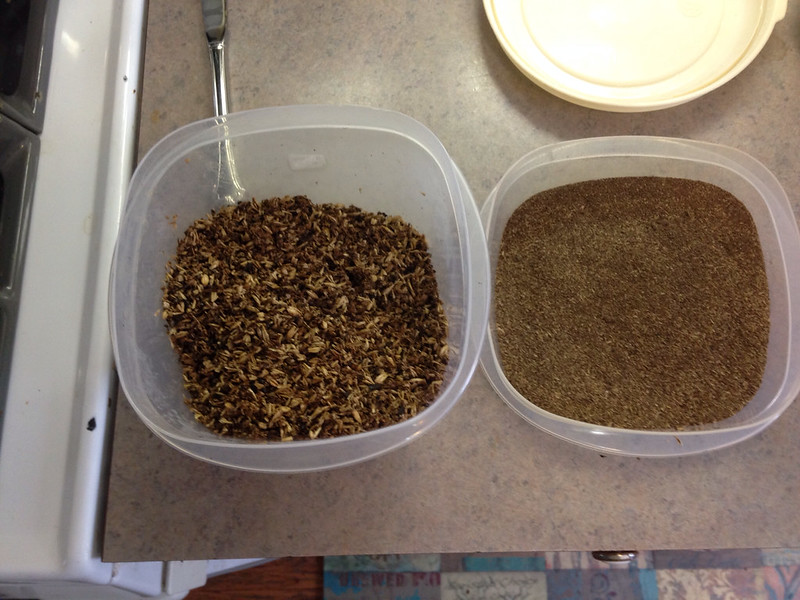
On pizza-making day, I pulverized some dried spent grains in under 30 seconds, using our Vitamix.
10 / 58
Stout beer spent grains. Ground on the right.
11 / 58
The recipe:
12 / 58
- 110 g of spent grains, pulverized into mostly powder.
- 550 g of all-purpose flower
- 455 g of water (frig temp)
- 13 g of fine-grain sea salt
- 4 g dry active instant yeast
13 / 58
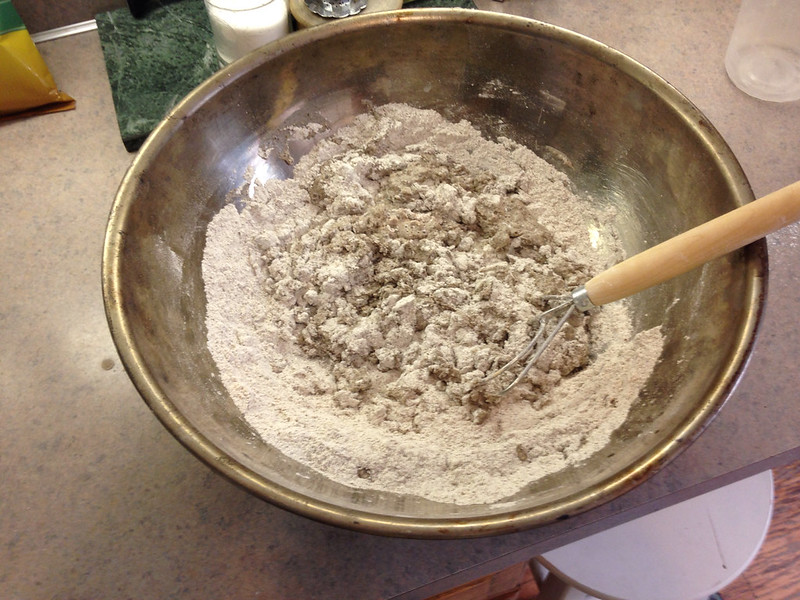
After mixing all the dry ingredients, the mixture had the color of buckwheat flour. It was colored a medium grey.
14 / 58
Some water added to the dried ingredients.
15 / 58
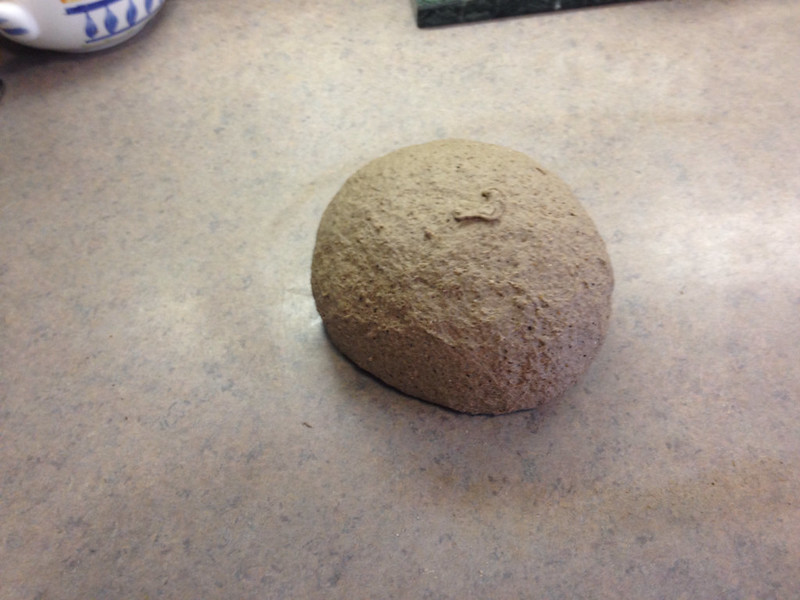
After all the ingredients were mixed by whisk and hand to form a sticky ball, I placed the dough on the counter and covered it with a bowl.
16 / 58
The covered dough rested for 25 minutes. This is called autolyse. Afterward, the dough felt great.
17 / 58
I kneaded the dough for a little over 4 minutes. The dough became stickier near the end of kneading.
18 / 58
The dough after kneading. Weird color.
19 / 58
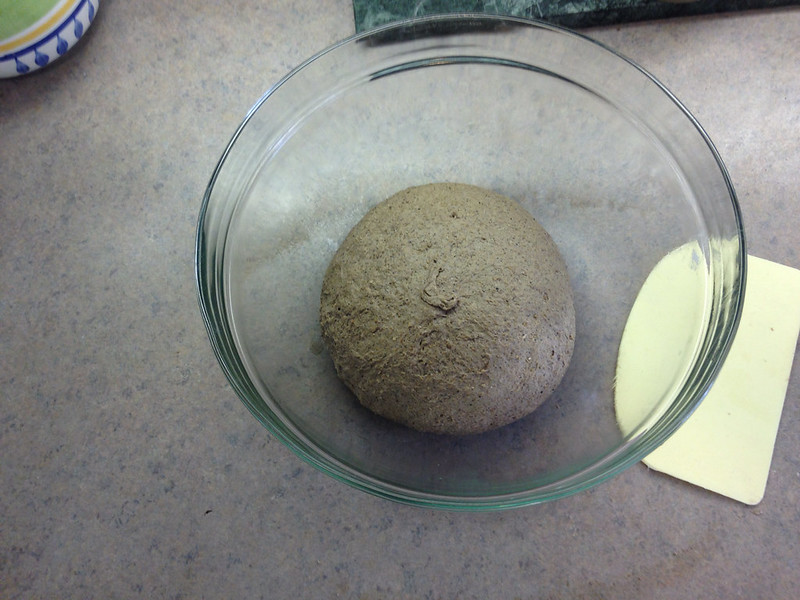
I placed the kneaded dough into a lightly oiled (olive oil) bowl, which I covered with plastic.
20 / 58
A plastic dough scraper is a handy tool.
21 / 58
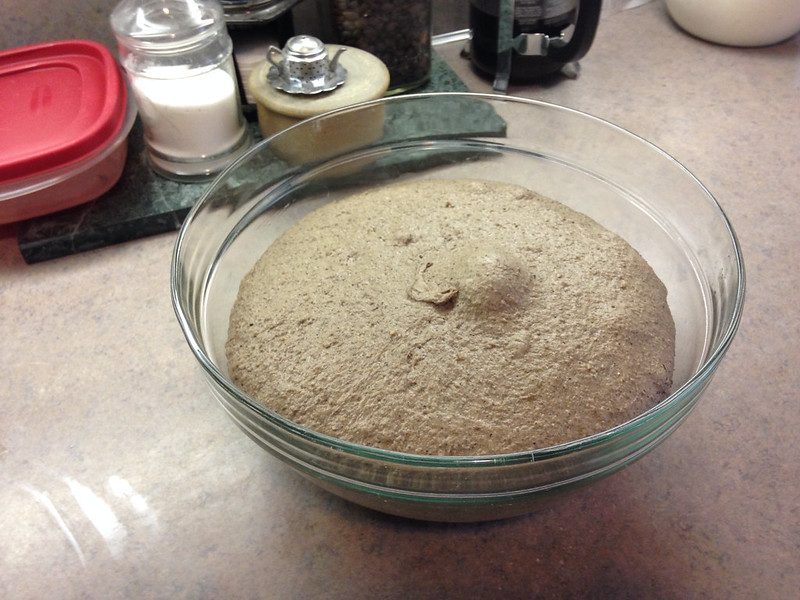
The dough fermented for 3 hours. It rose higher than I expected, considering that the spent grains had little to no gluten.
22 / 58
Dough after fermenting in a warm house.
23 / 58
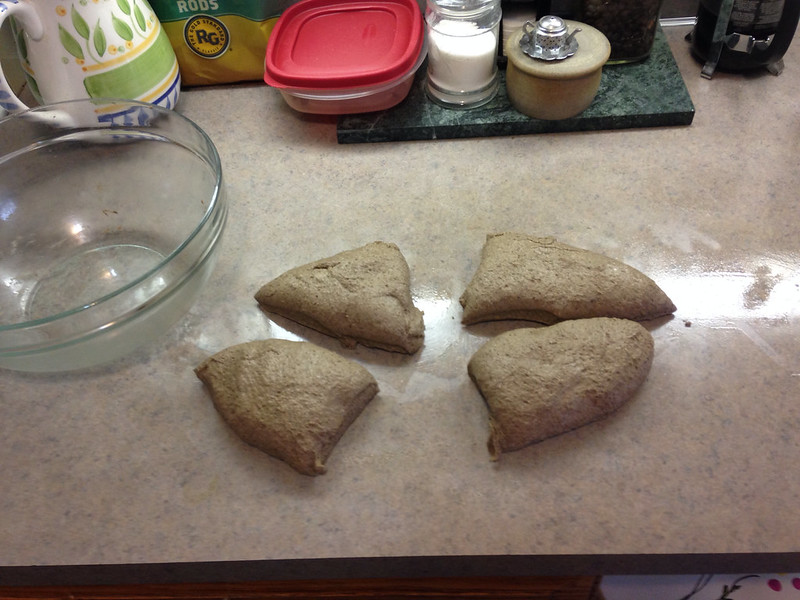
After fermentation, I used a plastic dough scraper to remove the puffy dough mass from the bowl and onto a lightly oiled counter.
24 / 58
Then I divided the dough into approximately four equal parts.
25 / 58
The divided dough.
26 / 58
For each of the small four pieces of dough, I conducted a stretch-and-fold, and then I shaped the dough into a tight ball.
27 / 58
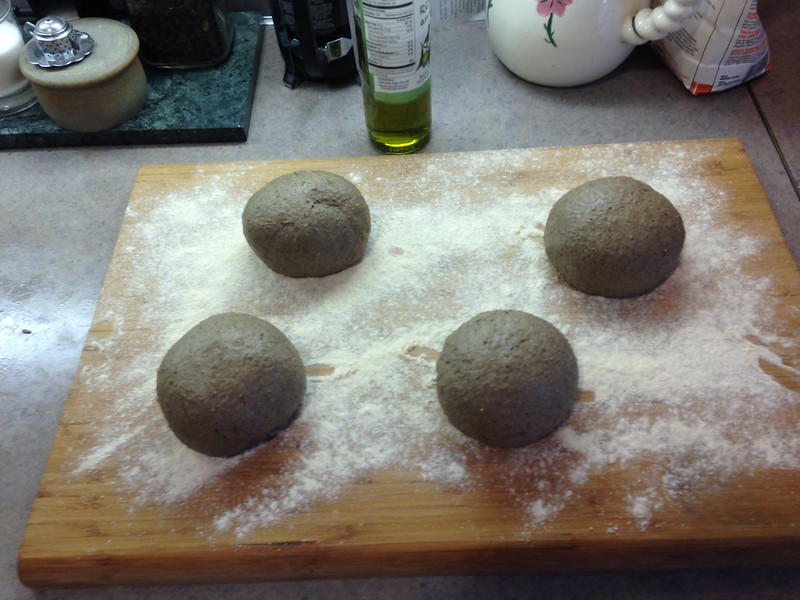
I placed the dough balls onto a flour-covered board. (I used King Arthur white whole wheat flour on the board and on the wooden peel at baking time.)
28 / 58
Ready for proofing.
29 / 58
Note: I didn't use the white whole wheat flour in this pizza recipe because I wanted to taste as much of the spent grains as possible, therefore ...
30 / 58
... I used only King Arthur all-purpose flour as the main pizza dough flour ingredient.
31 / 58
Spelt, rye, red whole wheat, and white whole wheat flours could mask the mild flavors from the spent grains. End note.
32 / 58
Back to the process. The tops of the dough balls were lightly covered with flour and then covered with plastic and left to proof for at least two hours.
33 / 58
At the start of proofing.
34 / 58
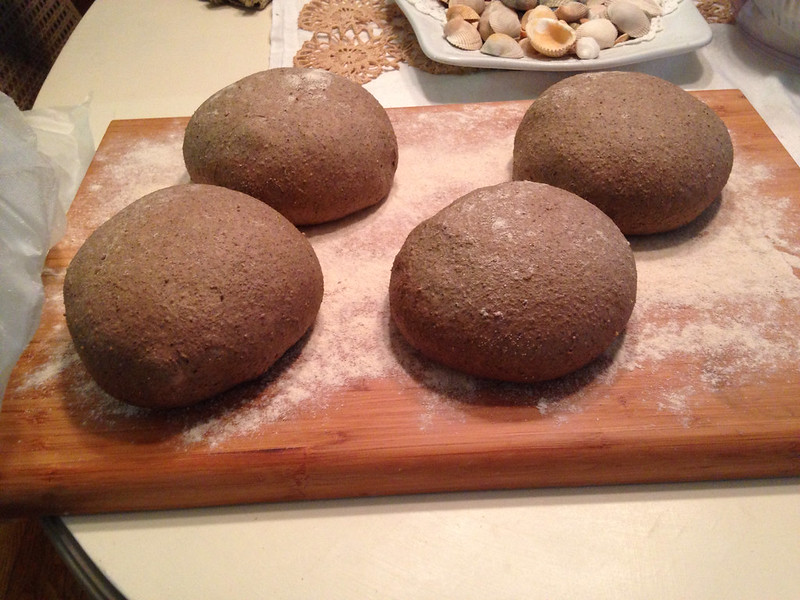
The dough proofed well. This spent-grains-enhanced dough had good shape. Bizarre color though. Fun.
35 / 58
After two hours of proofing.
36 / 58
Even though the proofed dough was airy, it was stiff and difficult to shape into a round because of less gluten. The shaping required patience.
37 / 58
I went slow because I did not want to tear the dough, but I did tear it a couple times during shaping.
38 / 58
When a hole developed, I pinched the dough together to seal the hole, and then I let the dough rest for a few moments before resuming the shaping.
39 / 58
Normally for a proofed dough ball of this size, I can stretch the dough to the size of the wooden pizza peel. Not this time.
40 / 58
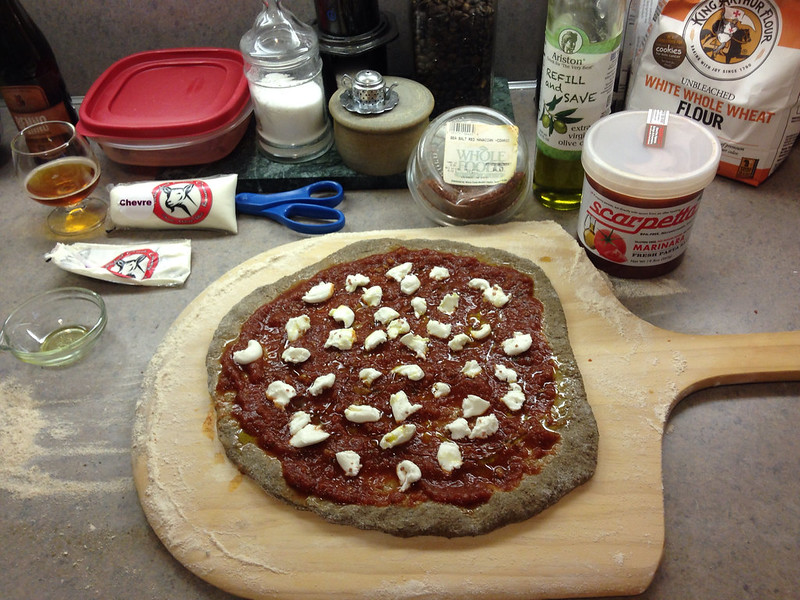
The stiff dough after being stretched to its max and ready to be topped.
41 / 58
I topped the dough with Scarpetti marinara sauce, Turkey Foot Creek plain chevre goat cheese, olive oil, and coarse red Hawaiian sea salt.
42 / 58
Ready for baking.
43 / 58
Note:We were out of my wife's canned pasta/pizza sauce, that she makes in the fall. Also when I available, I use my wife's homemade ricotta cheese.
44 / 58
Prior to baking, I preheated the oven at 500 degrees for 40 minutes with the pizza stone placed in the middle of the oven.
45 / 58
When all was ready, I slid the dough onto the stone.
46 / 58
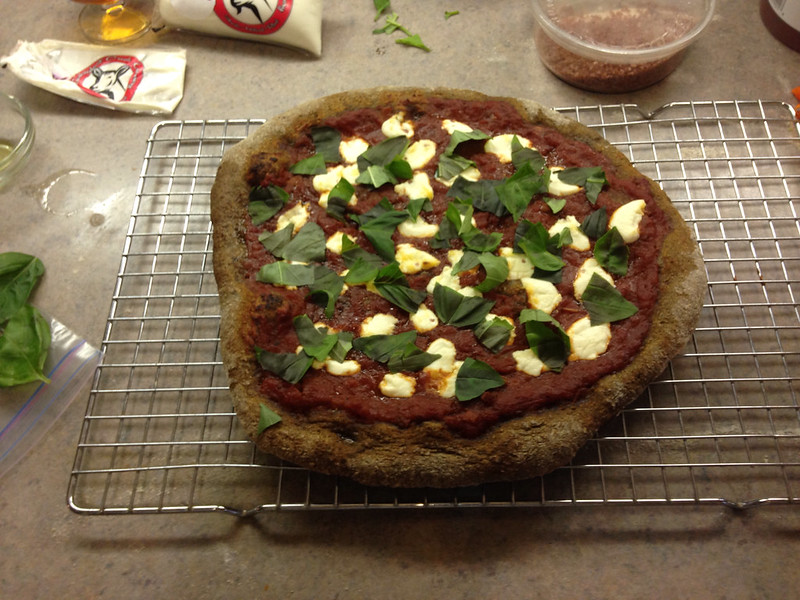
After 10 minutes of baking, I removed the pizza from the open, placed it on a cooling rack, and topped it with fresh basil from our backyard.
47 / 58
Add the fresh basil after baking.
48 / 58
I let the pizza cool for a bit before cutting. I baked two pizzas. I ate the leftovers the next day.
49 / 58
Odd-looking but delicious.
50 / 58
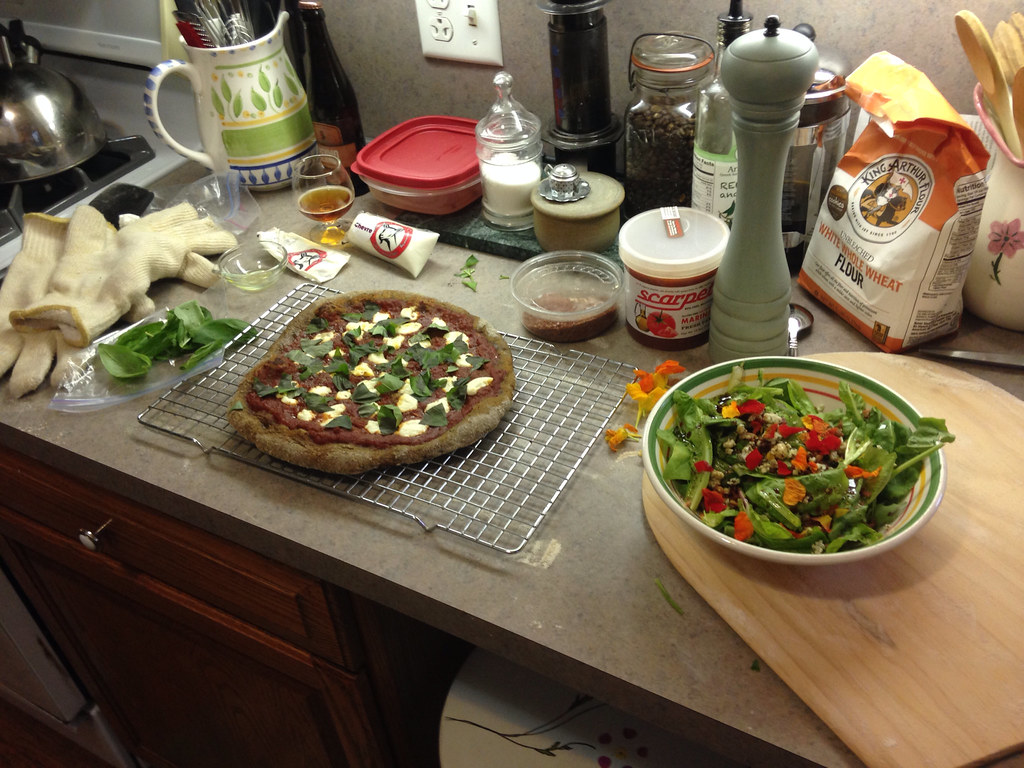
Some of the tools and ingredients used.
51 / 58
Unfortunately, I didn't have any of our stout beer chilling at the time to compliment the pizza.
52 / 58
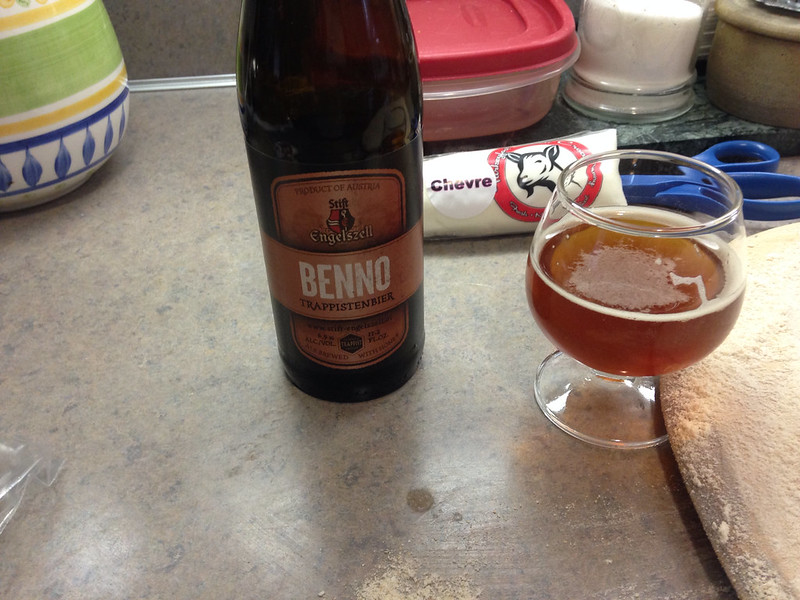
During pizza assembly, I drank a Trappist beer.
53 / 58
For dinner, I drank a different Trappist beer. I used greens from our garden to make the salad, which was topped with Nasturtium flowers, also from our backyard.
54 / 58
Quality cannot be rushed.
55 / 58
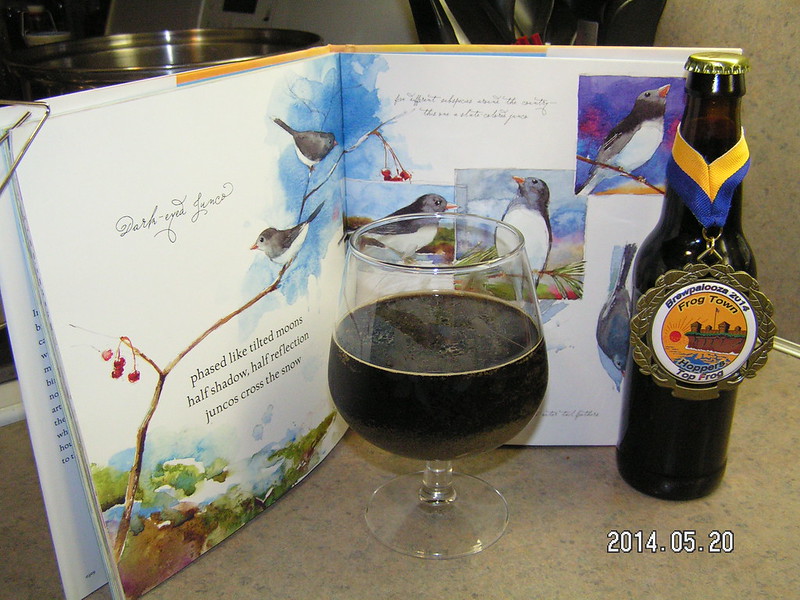
Our "Dark-eyed Junco Imperial Stout" home-brewed beer.
56 / 58
Our stout beer recipe contained the following ingredients: Black Patent Malt, Chocolate Malt, Coffee-Franco Belges, and Pale Malt (2 Row).
57 / 58
When we moved the beer from a primary fermenter to a secondary fermenter, we added a small amount of fresh, French press-pot brewed coffee. It was a delicious beer.
58 / 58
The End.